
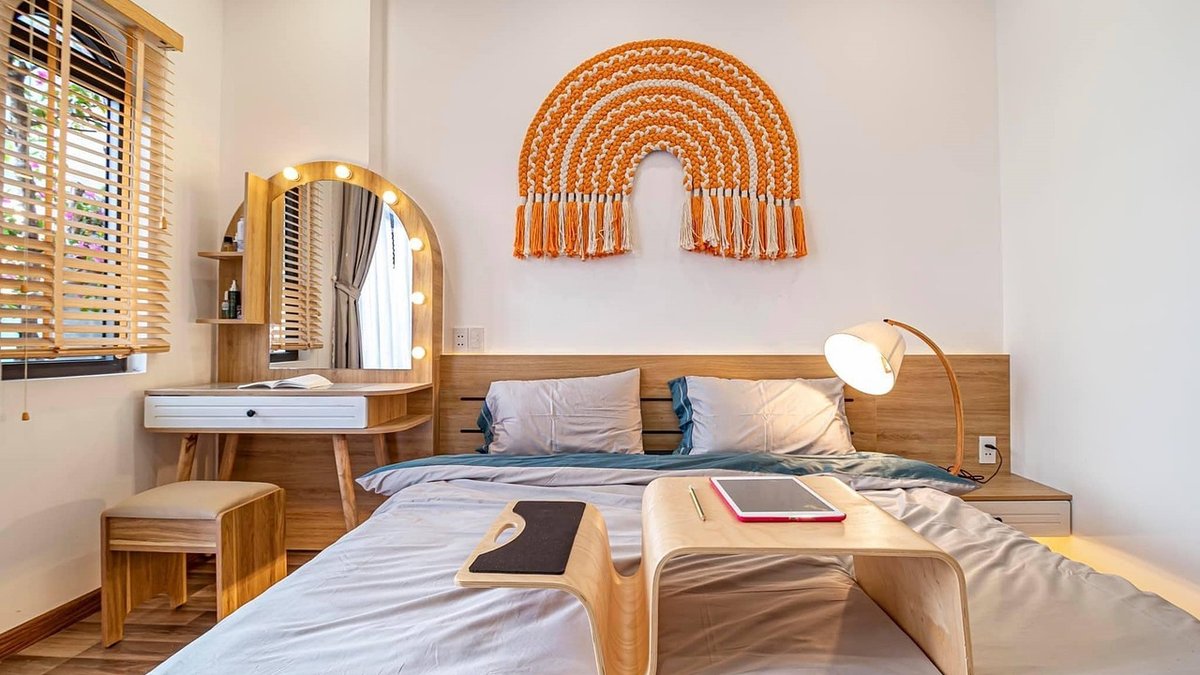
A vintage table lamp can be a lovely addition to a home, but old wiring is rarely safe. Fabric-covered flex from the 1950s may look charming, yet the insulation underneath can be brittle, cracked, or missing entirely. A frayed cable, a loose lampholder, or a plug with the wrong fuse are all accidents waiting to happen. Rewiring the lamp yourself is a satisfying, inexpensive project that gives you confidence in the fixture. If you are unsure at any point, stop and consult a qualified electrician. Safety always comes first.
Unplug the lamp. Never work on it while it is connected to the mains. Examine the flex along its whole length. Look for fraying, kinks, sticky patches, exposed conductors, or a fabric covering that crumbles when you rub it. Bend the cable gently — if the inner cores show through cracks, replace the entire flex. Do not simply tape over damage.
Next, inspect the lampholder. Cracks, scorch marks, or a bulb that wobbles indicate it needs replacing. Check the switch: if it feels gritty or fails to click, fit a new one. Finally, look at the plug. Old round-pin plugs, or a 13A plug fitted with a 13A fuse, are unsuitable. A table lamp should use a 3A fuse. If the lamp has a metal body, it must have an earth connection. Lamps with double insulation (marked with a square within a square) may use two-core flex, but if in doubt, use three-core and earth the metal parts.
Begin by removing the old plug and the lampholder. Take a photograph of the connections before you disconnect anything. Cut the new flex to a sensible length — usually 1.5 to 2 metres for a table lamp. Thread the flex through the lamp base and any cable clamp before you attach the lampholder.
Wire the plug first. With the new UK plug, strip about 5mm of the outer sheath, then strip 5–6mm from each inner core. Connect brown to the live terminal (the one with the fuse), blue to neutral, and green/yellow to the earth terminal at the top. Ensure no stray strands touch another terminal. Tighten the cord grip so the cable cannot be pulled out.
For the lampholder, polarity matters. On Edison screw fittings (E27 and E14), the live wire must go to the centre contact, and the neutral to the screw shell. On bayonet holders, connect live to the centre pin and neutral to the outer. If the lamp is metal, connect the earth wire to the lampholder body or a dedicated earth terminal. Use a cable clamp or a knot inside the lamp base to stop strain reaching the terminals.
Before plugging in, test with a multimeter set to continuity. Check that the live pin of the plug connects to the live lampholder contact, neutral to neutral, and earth to earth (and to any metal parts). There should be no continuity between live and neutral, live and earth, or neutral and earth. If your meter shows a short, recheck your wiring.
Plug the lamp into a socket protected by an RCD. Fit a bulb of the correct wattage — many vintage lampholders are rated at 40W maximum. Switch on. If the RCD trips or the fuse blows, unplug immediately and investigate. A gentle warmth from the flex is normal, but heat or a buzzing sound is not.
Some lamps are best left to an electrician or a specialist restorer. If the lamp has fabric-covered wiring that crumbles, a metal body with no earth, or a lampholder you cannot replace safely, seek help. Valuable antiques may need sympathetic restoration to preserve their value. And if you are ever unsure about a connection, stop. A qualified electrician will test and certify the work, giving you complete peace of mind.

Hi, my name is Anthony kuber. I am artist and fashion designer.
I love to travel and writing blogging.
Your email address will not be published. Required fields are marked *
Software Developer & Writer
Hey, I'm Diva, a developer and writer blending code and creativity. I'm driven by a deep curiosity and a relentless pursuit of excellence. Join me as I craft digital solutions and captivating stories.


